Views: 8
A target we had up front when we bought this house was to update Lighting with CAN LED lights in the office / observatory room. One item we wanted to address was the 1980’s 1990’s track lighting when we first moved in. We had similar lighting in our old house, and we never got the time or effort together to replace them. At the same time, we were going to address the pop-corn ceiling. All of the lights worked fine and were in excellent condition however they dated the house needlessly.
Prior to the upgrade I did swap out the bulbs with LED bulbs. This worked for the most part (link below). HOWEVER – there are some things to know about when replacing your incandescent (regular) bulbs with LED’s.
- When just replacing incandescent bulbs with LED’s you will get the benefit of better light and efficiency – and who does not want to reduce monthly bills? Amazon Link Here
- You may need to replace the dimmer switch if it is older than 5 years or so. Some of my lights have older dimmers but, they are also connected to lights that have ballasts that regulates the voltage. After researching and talking to some electricians I recommend the following:
Classic round style Amazon Link here
or
Modern style Amazon Link here
OK so the first step was to take the lights down and scrape the ceiling and make the holes. We had 3 track light fixtures in this area so we decided to go back with 3 LED lights.
Once we measured and decided where they would go, we started to drill the holes. We were really excited to get this done – however we quickly discovered a problem is not so easy to fix.
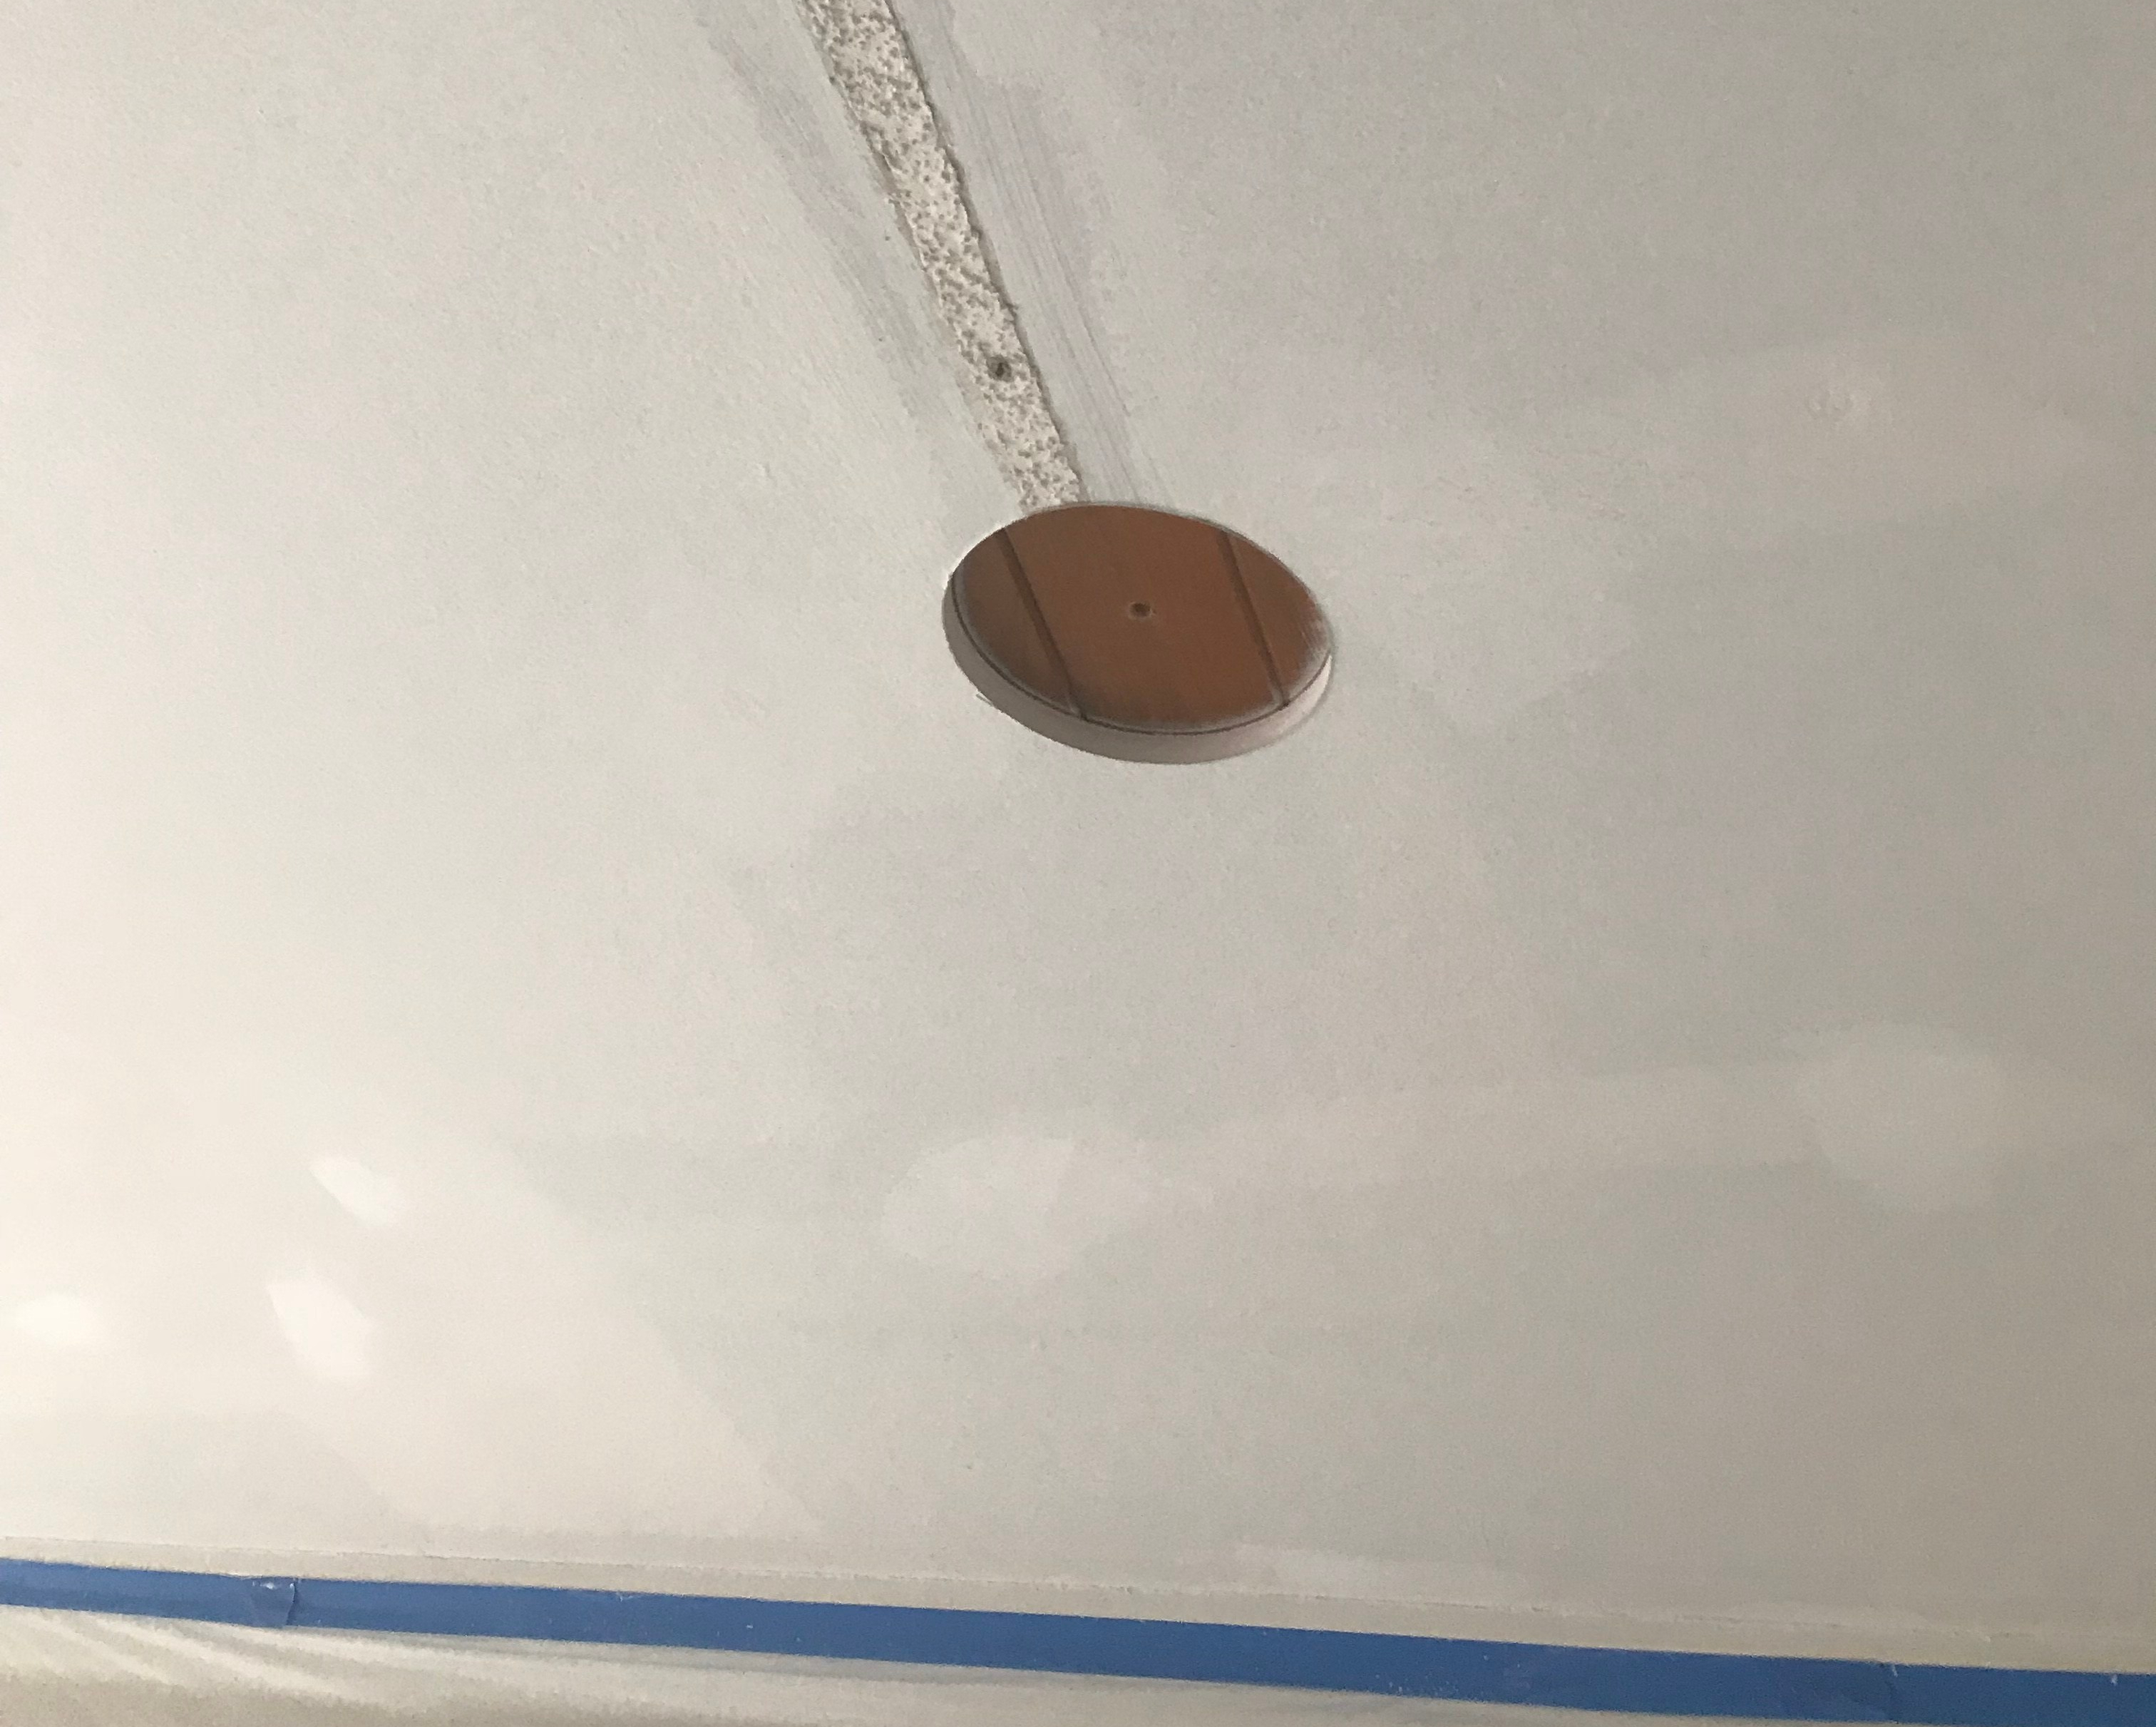
As we started to drill the hole we discovered there were two layers to our ceiling. A very nice stained wood slat ceiling above the Sheetrock. I inquired to some of the neighbors and I found out a little more about our house. Way back in the 1950s and maybe slightly before, this structure was “Officially” a fishing lodge. This ceiling we found, was actually part of the ceiling for the original back porch. This area now is know as the Observatory, is now enclosed as part of our house. So what to do? Keep on moving…
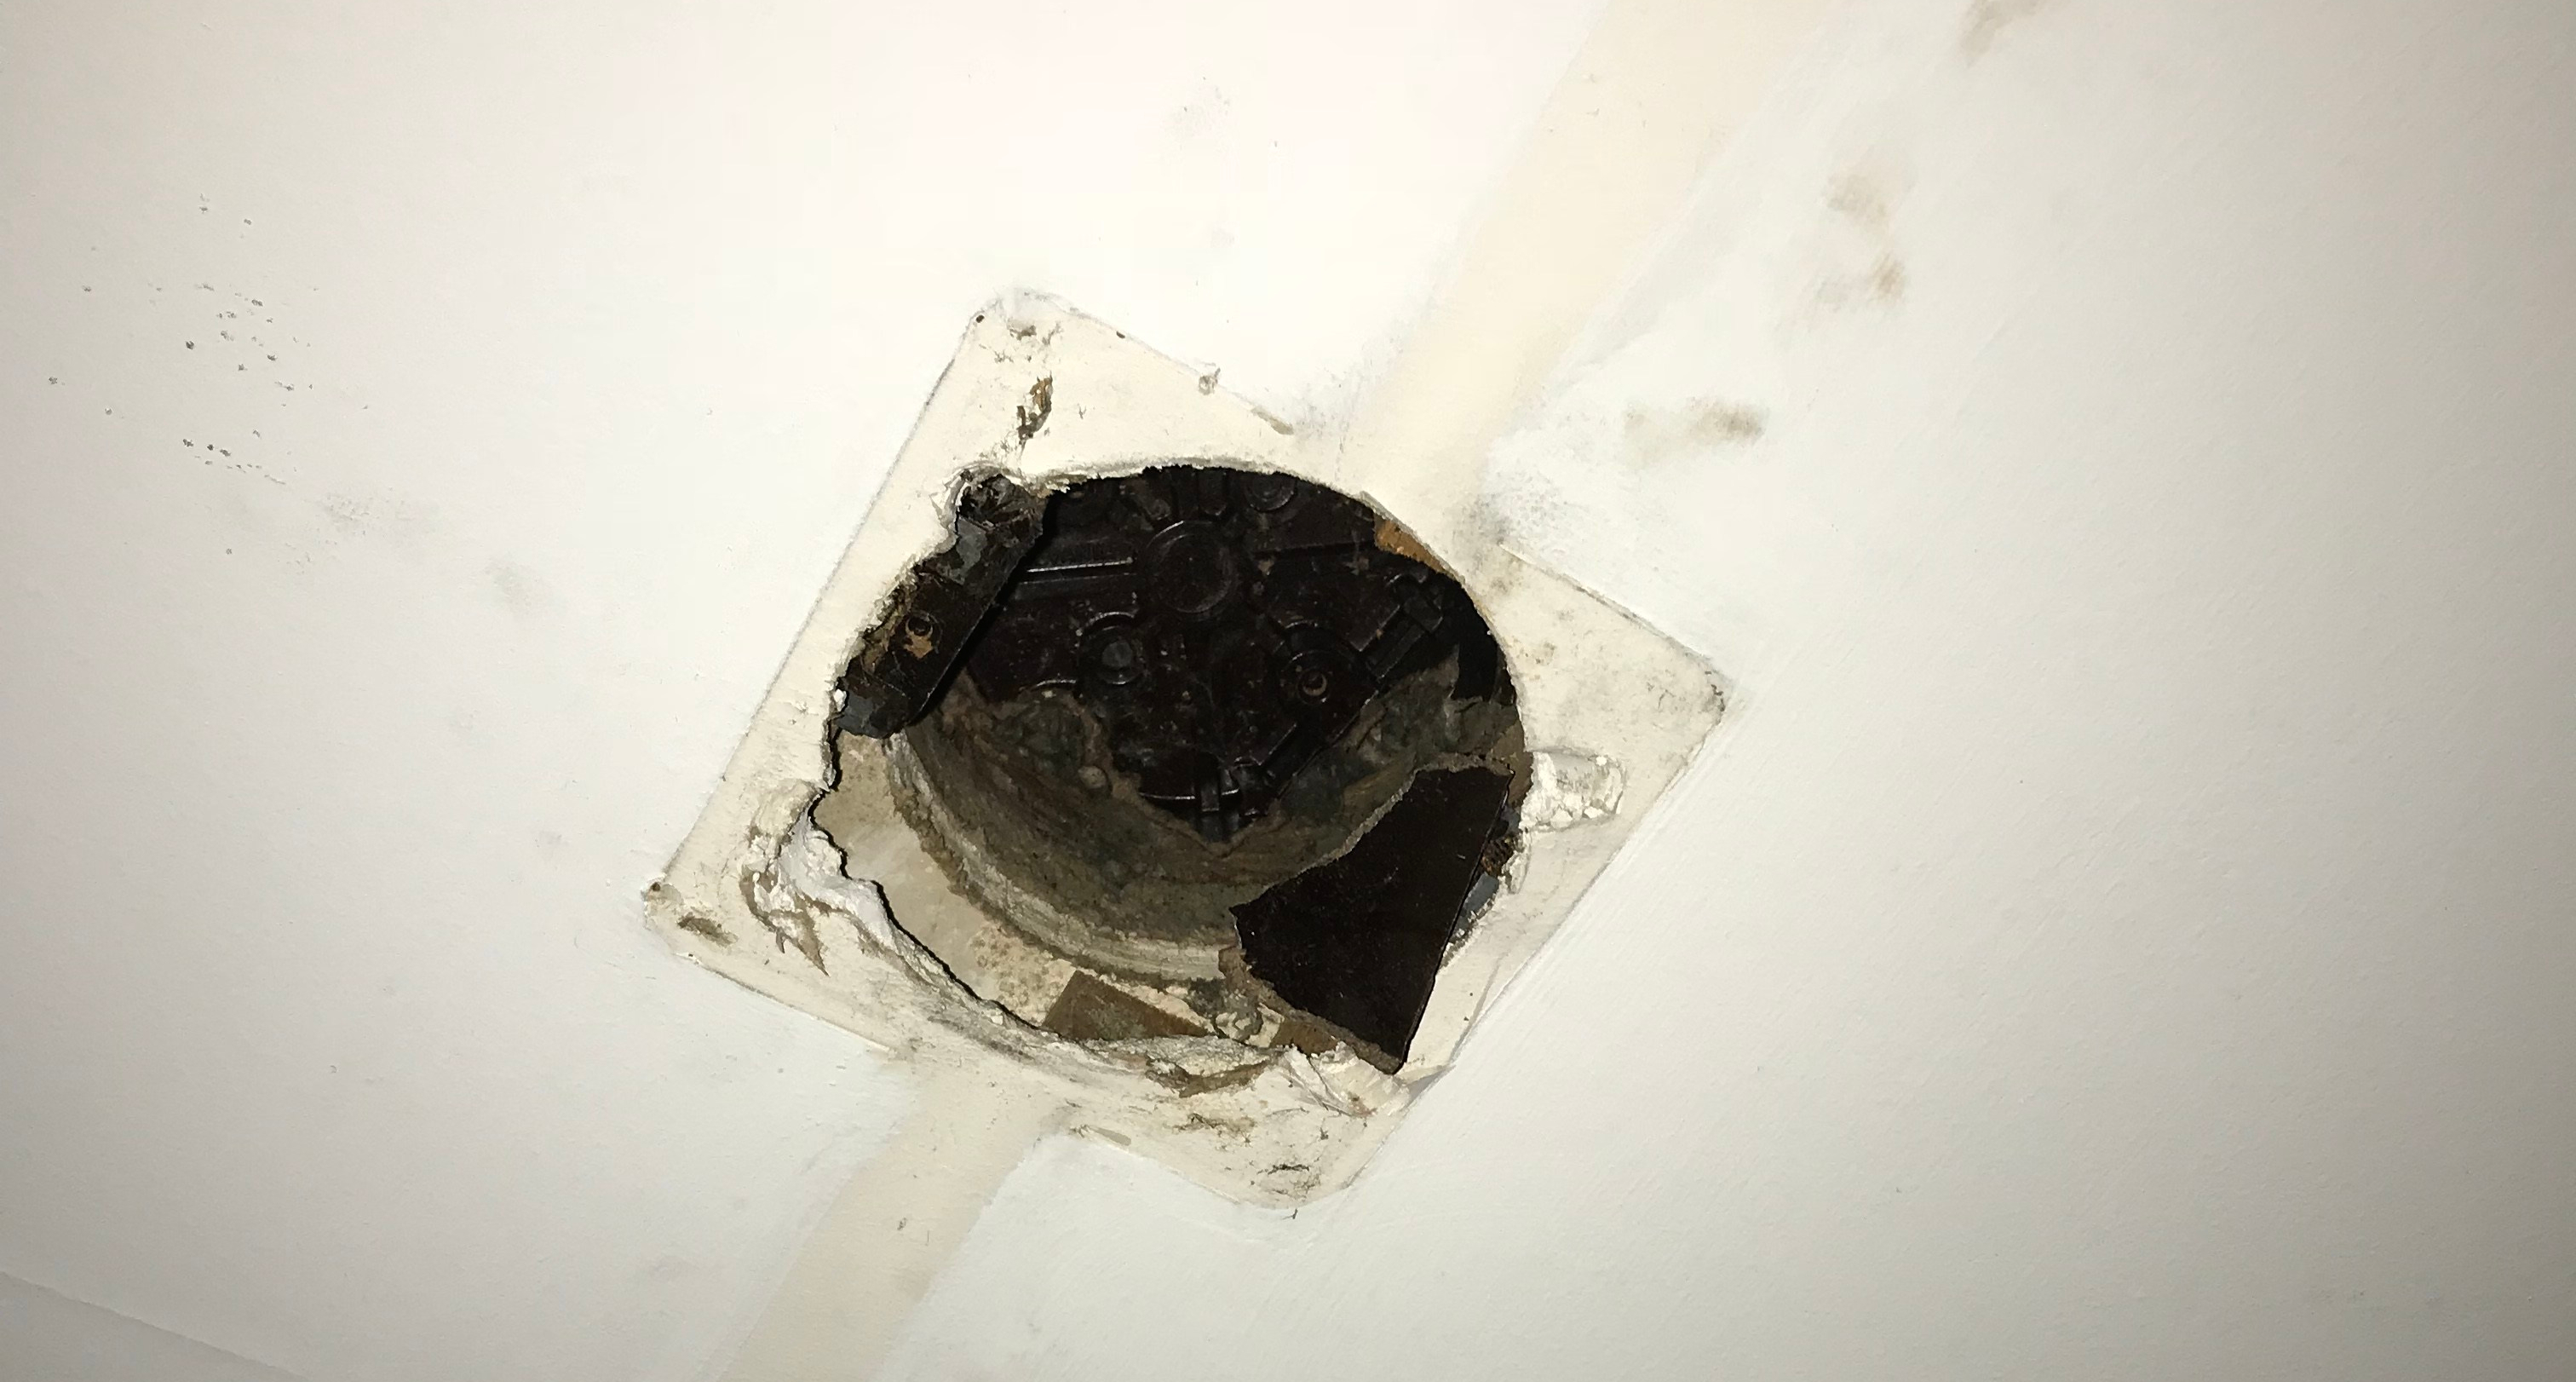
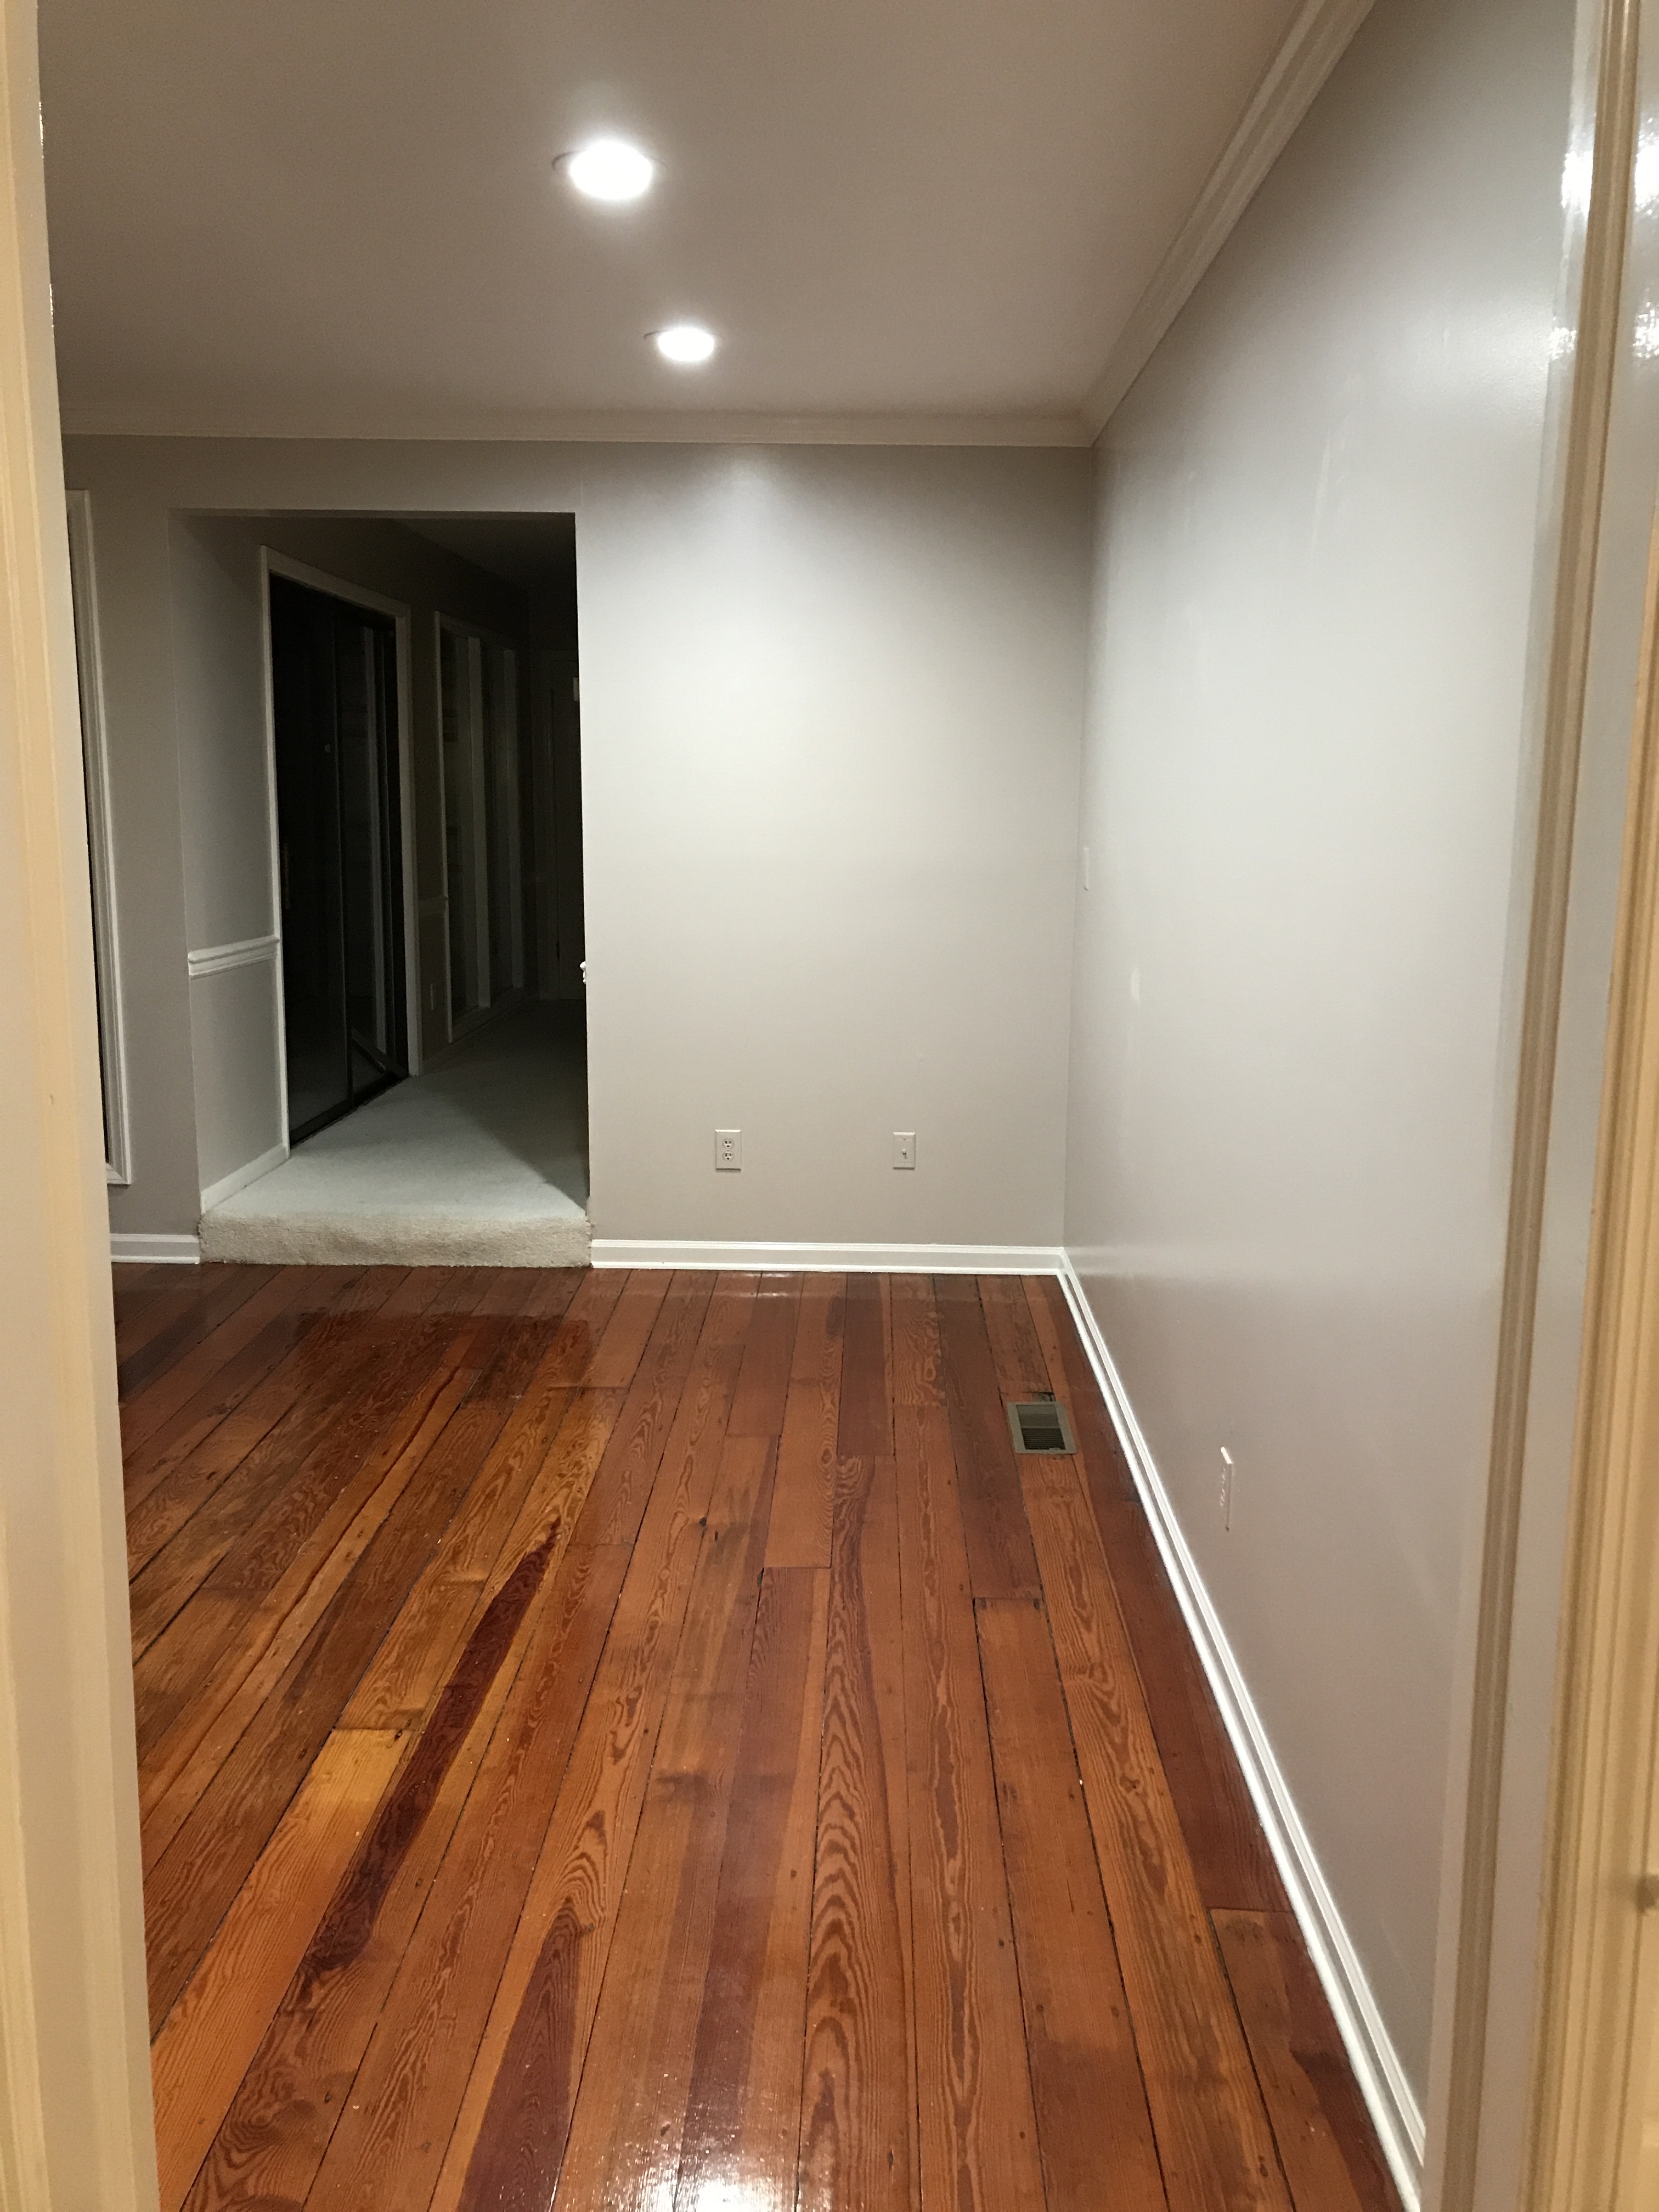
It made it a little rough and difficult to get the can lights in, but we were able to mount them and tie all the wiring together. So the Observatory is completed. I have a dimmer connected to them and with these lights, you can adjust how warm they are (see below). Really nice lighting and it upgrades the who look and feel of the room. (See the gallery at the bottom of the page).
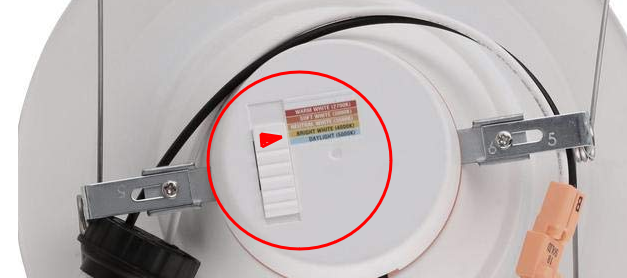
The lights we choose are very nice here are the specs:
- Commercial Electric 5/6 Inch – adjustable temperature color Can / Recessed lights (LINK HERE) They are a slightly more expensive but nothing to break the bank. GO with these and you will be happy to align all of the lighting in the room..
- Brightness: 700 lumens dimmable ENERGY STAR rated
- Compatible with 5 and 6 in. cans Color temperature selection Light appearance: 2700K – 5000K
- Rated for use in wet locations Shatter resistant Energy use: 9-Watt Lifetime: 50000 hours
- 90 CRI UL classified Instant on 5 year warranty
- The cans they go in are nothing out of the ordinary. We used these…
Their appearance and ability to color match other lights in the room was a great feature. It is really easy, just pull the CAN LED Light down from the ceiling and select the color temperature. Warmer (like an incandescent bulb around 2700K) vs. a cooler color of an LED light that is a little harsher on your eyes.


More product info from the description: The Commercial Electric 5 and 6in. Color temperature select LED down-light is an easy way to upgrade your existing can lights to the sleek look of recessed lighting and LED energy efficient technology. These LED down-lights are compatible with most dimmer switches and are equipped with a unique color temperature (CCT) changing technology. Now you can select your color temperature depending on your needs or preferences with the flip of a switch located on the back of the down-light. Test different color temperatures before installation and never be dissatisfied with CCT again. Color temperature of these LED down-lights ranges from Warm White (2700K) to Daylight (5000K), with three options in between: Soft White (3000K), Neutral White (3500K) and Bright White (4000K). Using only 9-Watts of energy, but producing light similar to a 65-Watt incandescent, these LED down-light bulbs are estimated to cost only $1.44 per year to operate. Additionally, these LED down-lights are rated to last for 50,000 hours or approximately 34 years. That is 50 times longer than a traditional incandescent BR30 light bulb, which these down lights are used most commonly to replace. Compatible with most 5 and 6 in. recessed housings and equipped with a medium (E26) socket base adapter for easy installation.
We have three more rooms to work on, and we will get them done over time, but right now we have bigger fish to fry.
Project notes: What would I do differently?
- Make sure to do this PRIOR to moving into your new home (at the very least the scraping of the ceilings. It is a nasty job and one that you should really do when nothing is in the house. Keep the HVAC (furnace or air conditioning) Off it at all possible. It keeps that dust from the ceiling from getting in the system.
- Make a decision on the lighting size. I appreciate the larger units in the Observatory, however I think I may go back to a smaller size (4″ vs. the 6″ units we have). It would be a little bit cleaner and more modern looking.
Until next time!

