Views: 9
In my last post about the fireplace before Christmas, I found a high quality modern contemporary fireplace door. That post is located here: However, as I stated in that post, we were working on totally revamping the mantle to allow for a couple of changes:
Our Fireplace and Mantel objectives
- Keep the fireplace active and ready for use at any time. As many of our projects, we have discussed getting a fireplace door vs. just a screen.
Check, done with this one! - Allow for a larger TV (as the room is very large) and the dining room is in the back of the living room and we would like to watch games etc. with guests or family.
- GET MY home theater CENTER CHANNEL MOUNTED!!!
Not that having your center channel is a problem for your home theater (you slaved for many moons to purchase and dreamed about)… We have not really been able to appreciate it since we moved. I did have the center channel off to the side, and when needed I would move it. That got old quickly. With so many other projects, the fireplace and mantel were NOT a huge priority. Since the Corona-virus and some extra time inside, the day has come.
Our ideas of what we wanted for the fireplace:
- Modern / Craftsman mantel – clean and crisp.
- Tile around the center mid-century
- 76″ wide
- 56″ High
- 10″ Deep for the top shelf.
Lets do this! We have the time.

Out With The Old Fireplace Mantel
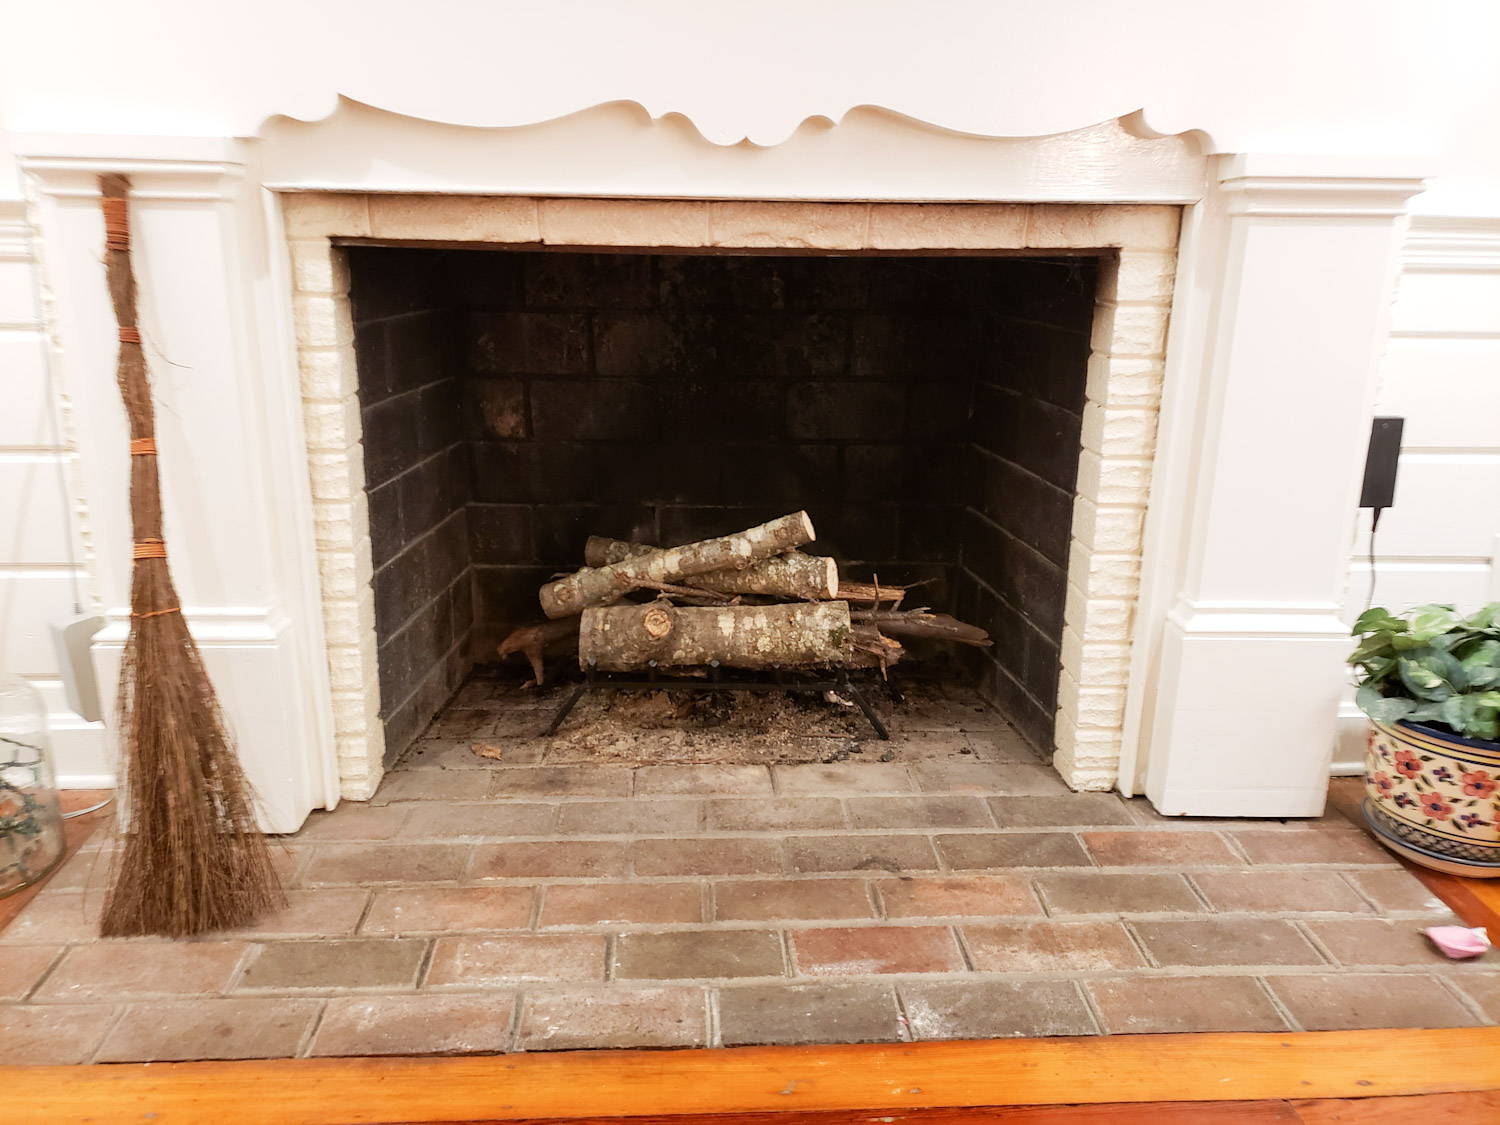
Once we started to remove the old Mantel, we realized our original assessment was accurate. This was solid wood and not some cheap prefab. It must have weighed about 150 lbs.
We moved the mantel to our bedroom fireplace as it did not have a mantel at all. Seeing how this piece has been here for many years, we did not want to sell it and we wanted to keep it as part of our house.
With the mantle removed, we proceeded to measure and make up our minds of where to mount the TV. I verified the size of the TV we wanted. It was not really much larger than what we had but large enough for the room. We ended up getting a really good deal on a 65″ TCL Series 6 Roku TV. Since we already had Roku devices all throughout our house, it just made more sense to use something we were familiar with. In addition, the TCL Series 6 TV’s have gotten rave reviews for the 4K ability and in general the TV’s performance.
If you have never used the ROKU interface – it is a simple interface that allows you to navigate the TV app world. Almost all manufacturers that create their own (even Sony or Samsung) just pale in comparison with the user experience.

TCL Roku TV 65″ Series 6 Highlights:
– TCL Pairs 4K ultra HD picture clarity with the contrast, color and detail of Dolby Vision high dynamic range (HDR) for the most life-like picture
– LED back-lighting with contrast control zones produce deep blacks and excellent picture quality. Stand separation distance 55.5 inch
We are going to mount it on the wall, so at the same time I picked up a multi-adjustable Sanus Simplicity wall mount. Perfect for this job.

Hanging the TV wall-mount on a Brick Fireplace
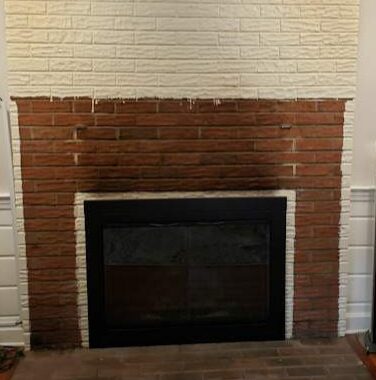
Once we got back home I mounted the Wall mount onto the TV. We measured and figured out exactly where to mount the TV on the brick fireplace. How high we wanted the mantel in relationship to the TV and the Center channel.
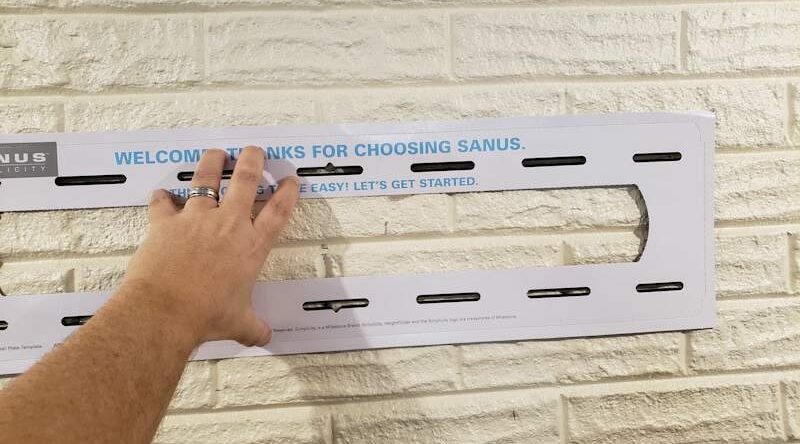
A very handy item in the box of the wall mount was a template to mark the wall location. It made small work of something that could have been much more complicated. Essentially line up the template after identifying where it should be, ensure it is level and then mark the spots. In order to do this effectively, I had to mount the arms on the TV and then measure the distance to the top of the TV.
This gave me the estimate of where I needed to be on the wall in relationship to the ceiling. Finally, mark and drill.
Keep in mind, you will need anchors for the wall made for mortar as you will be drilling into the mortar vs. the actual brick themselves. The Sanus kit comes with mounting hardware for both brick / concrete and also Sheetrock walls.

Once the holes are drilled, I vacuumed them out and started to add the plastic anchors. I did not have instructions to do this – but read a couple of other websites that recommended to add some glue in the holes to seal and secure the anchor.
All done in a couple of hours – and onto the next steps!


Project Costs so far:
- Sanus Simplicity wall mount. $117
- Roku 65″ TCL Series 6 Roku TV. $749
- Pleasant Hearth AN-1012 Alpine Fireplace Glass Door, Black, Large. $259 (on sale)
- Rutland Fireplace Insert Insulation Fiberglass, 1-1/2-Inch by 10-Fee $17.99
- Rutland Products 76C 500-Degree RTV High Heat Silicone Seal $12.99
Next up, we will be building the mantel and tile.
Until next time!


