Views: 8
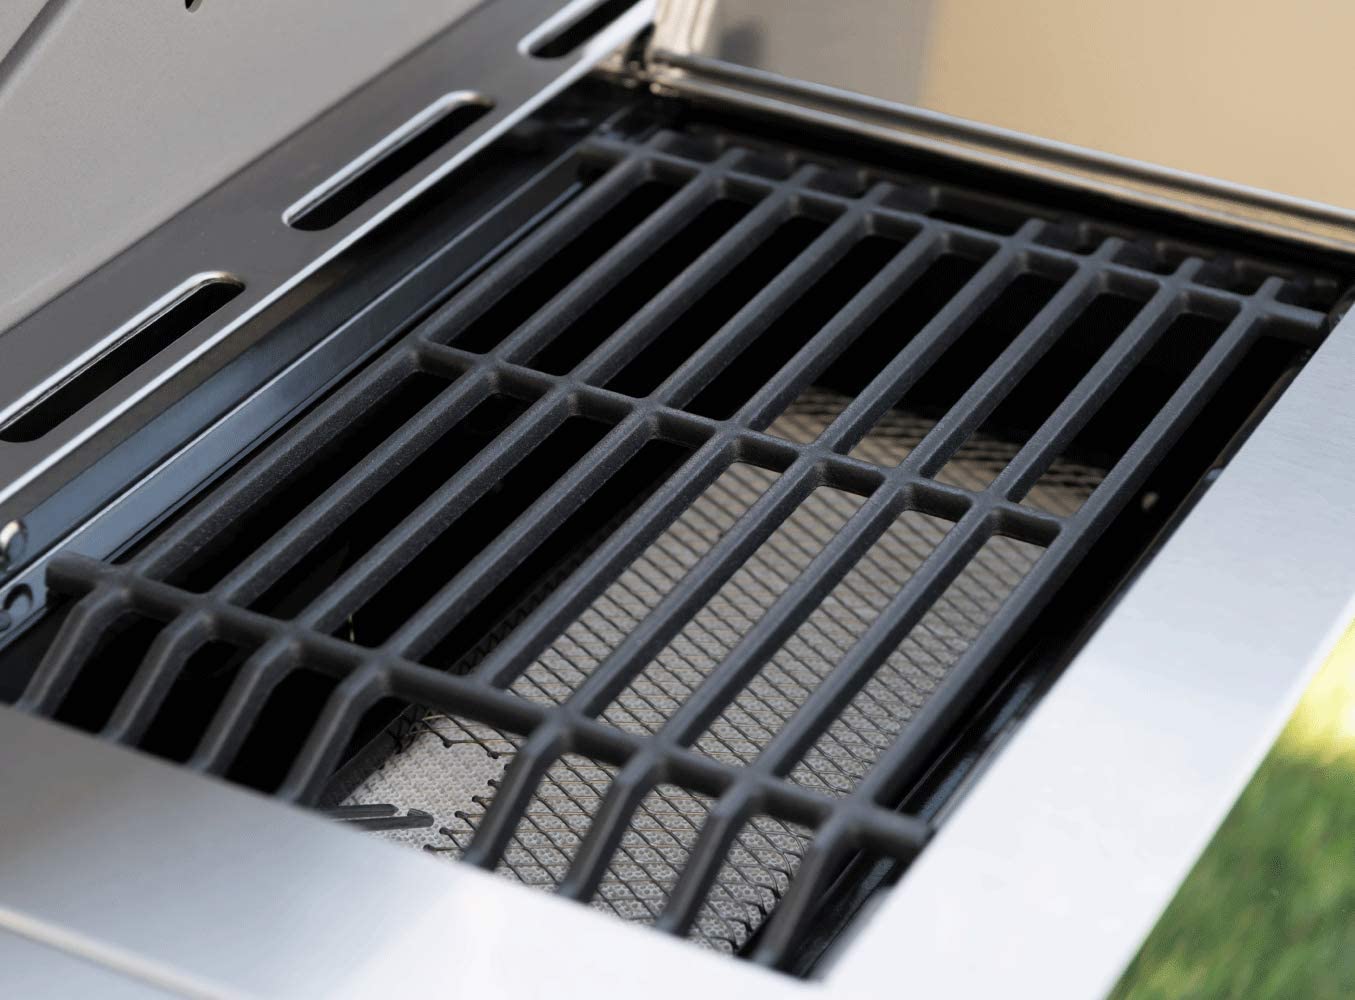
If you are a grilling fan, today you will learn something you did not know about just like me and why we are talking about our Kitchen-Aid gas grill with a searing side burner. Focus in on the last part “Searing Side Burner”. If you have never used a searing side burner you are missing out. Not just a little but a lot. It is a feature known to restaurants and chefs for decades but not until recently entered the home amateur chef and grill fanatic.
Kitchen-Aid gas grill with searing side burner


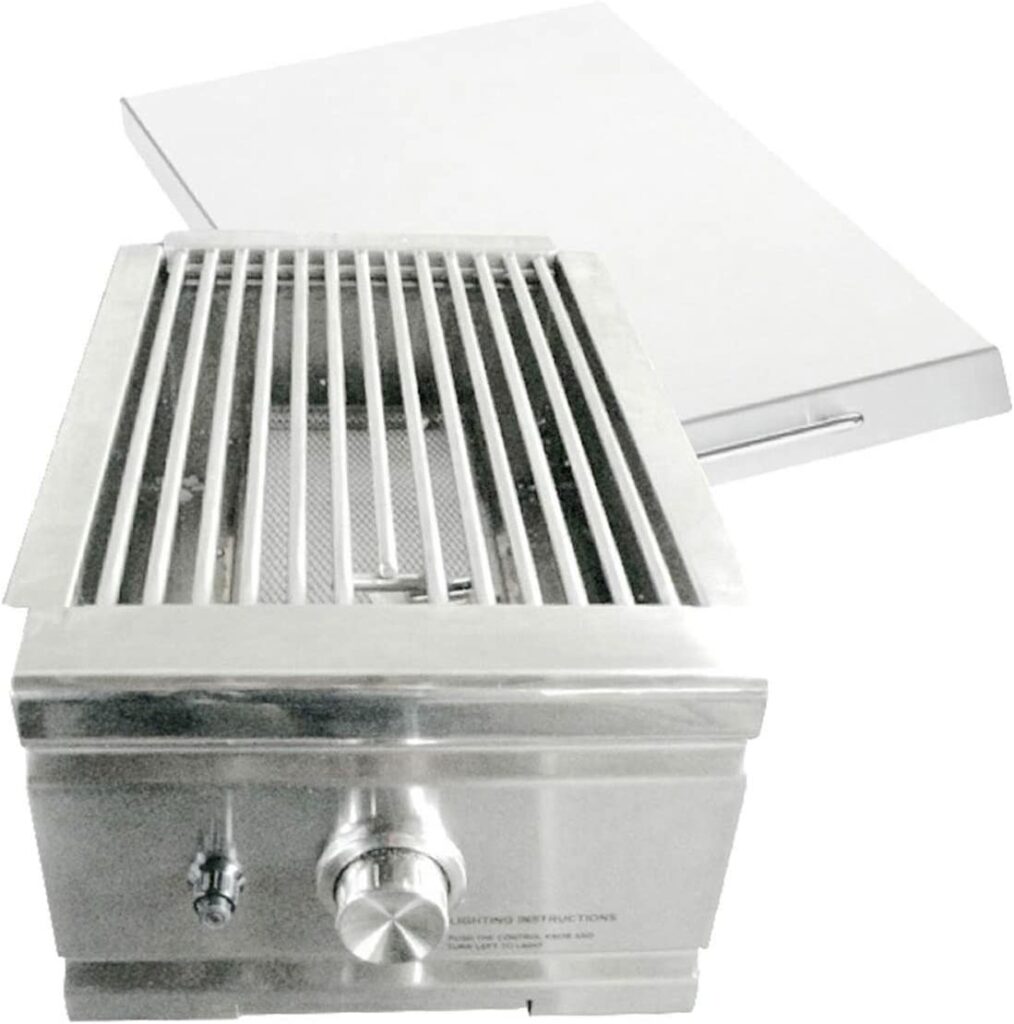
As you can see from the images above, we have a Kitchen-Aid gas grill with a side searing burner. This is very similar to the grill that we have (ours is in blue and of the 3 burner variant). Overall we are pretty happy with this grill. I will say the normal cooking side is OK, but it does not get as hot as our previous Weber Grill. This unit is known as a Ceramic Infrared Side Sear Zone Burner, see a close up on this link to Amazon (a replacement part for our grill).
Weber has their own view using 3 burners. From their blog:
“The Sear Station is basically three burners that are closer together than the other burners on the grill. What this does is create a zone on the grill that can get hotter much faster than other areas, which is great for speeding up the time it takes to get the grates hot enough for searing. You can sear on a grill without a Sear Station, but you’ll have to wait a bit longer.”
Today, you can find stand alone models that do not require your grill at all. However while you may technically be able to “grill” on them they are not recommended as the heat is too intense to slowly cook as needed.
Can you purchase a stand along Searing burner?
YES is the short answer but it may not be as simple as that. The three units below range from $267 (Solaire SOL-IR8A) for the stand alone unit you could easily mount on your grill “wings” to built in units starting at $550. So as the price starts to creep up, you can see why I purchased the grill that I did. I did not want to buy a searing burner on it’s own for $500 – it just does not make sense. At the time too, Kitchen-aid was one of a few that actually even had a searing station.


Cooking with a Searing Side Burner
There are a couple of steps needed to cook properly with any searing side burner or searing station. One thing to count on is the heat. These things get really hot. Not just hot like your grill but the pit of hell kinda hot. These things can pack a punch from 25,000 BTU’s and higher. Keep in mind it is typically in a central location vs. the expanse of your entire grill. I will show you how I prep and use our Side burner below with cooking some kebobs.
Start Searing Burner
Clean with some olive oil or PAM
Restart Searing Burner
Start to Sear your Steak, Chicken or Fish (whatever you are cooking)
Cook on the grill
Products in this blog post
- Kitchen-Aid gas grill with a side searing burner
- Extra Virgin, All-Natural, Artisanal, Great for Cooking, Sauteing, Grilling
- Lawry’s Seasoned Salt
We hope you enjoyed this review. I would not want to have a grill again without this accessory which is become a necessary part of grilling. Overall, the Kitchen-Aid grill itself somewhat falls flat. It does an OK job at tackling normal grilling duties but it is NOT as good as a Weber. Where it shines is the searing side burner. There is nothing better. Even if I replace the grill, I will give a long thought about can I repurpose the searing burner in some way. What a great eye awakening experience.
*One note for steak. To make a restaurant style steak there are two secrets you need to know about. 1. Make sure the meat is room temp. 2. get a sick of melted butter. Now dip the steak (both sides) and drop on the searing burner. Watch out for the flames as it will flair up – and reduce the searing time to 2 minutes a side max. Your steak will be like buttery soft meat when done. This is WHY I love a searing side burner!
Until Next time!


