
Fix a Loose Shower Tile with Gorilla Glue in 10 minutes
Gorilla Glue and loose Tile, who would have thought Gorilla Glue to be one of the best adhesive for shower tile repair? There are some repairs that need a simple fix (Like your loose shower tile). You can always go all in and do a full rip out and replace. For the latter, either call a contractor (or spend the next several weeks of your life) going through that process. What seems like a mountain to climb, you might find out you could have done a simple fix vs. ripping things out. Here is one example where we had some loose tile in our basement bathroom shower.
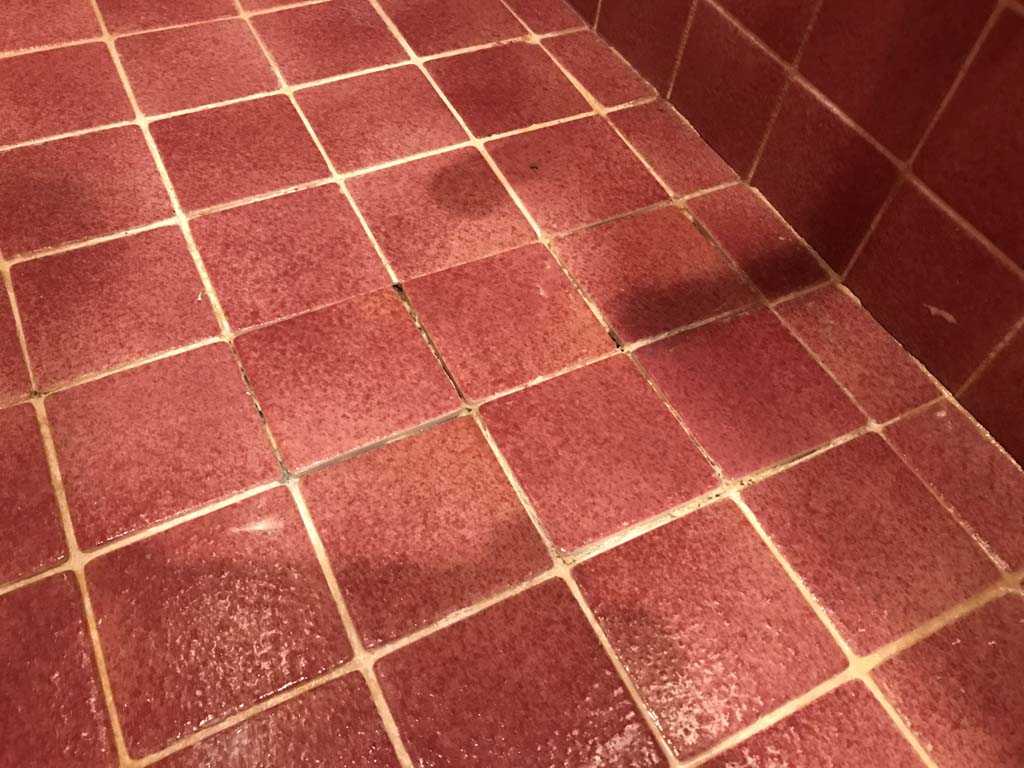
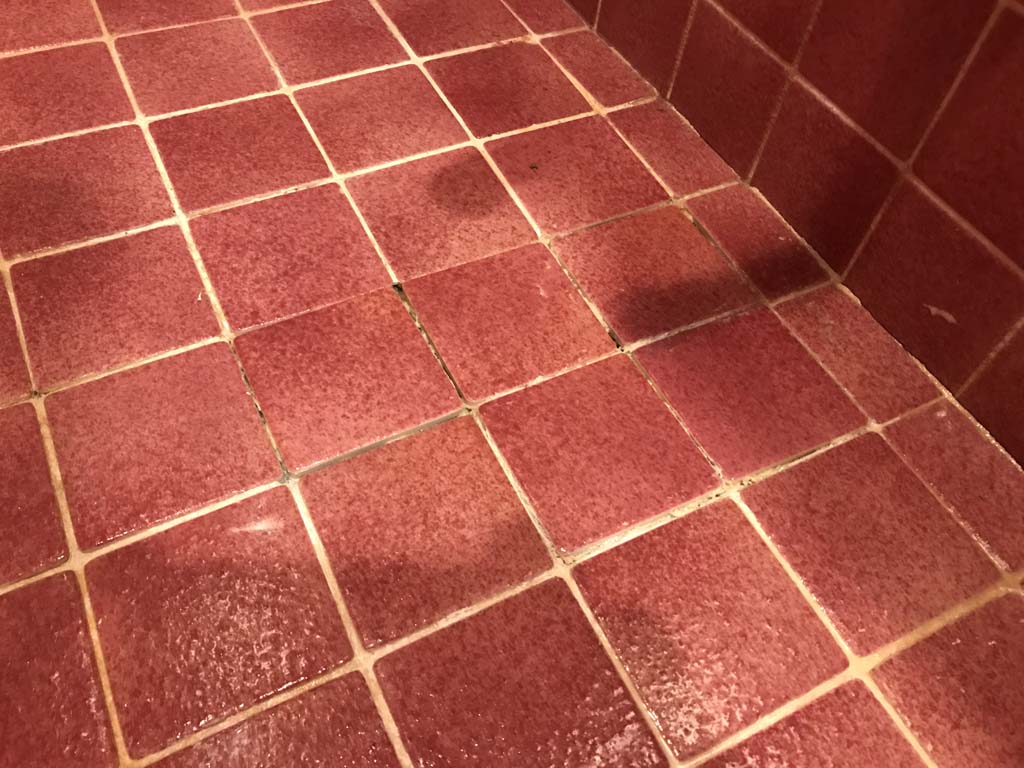
The overall condition of the shower is somewhat like new. The color of the tile may not be what we would have selected, however it is a high quality tile. So we felt there was no need to go to such an extreme as ripping everything out. Here is how I fixed our shower and I hope this helps someone else who might be facing this worrisome problem. Not only can you use this to fix a loose tile, but also learn how to repair cracked grout. No schema found.
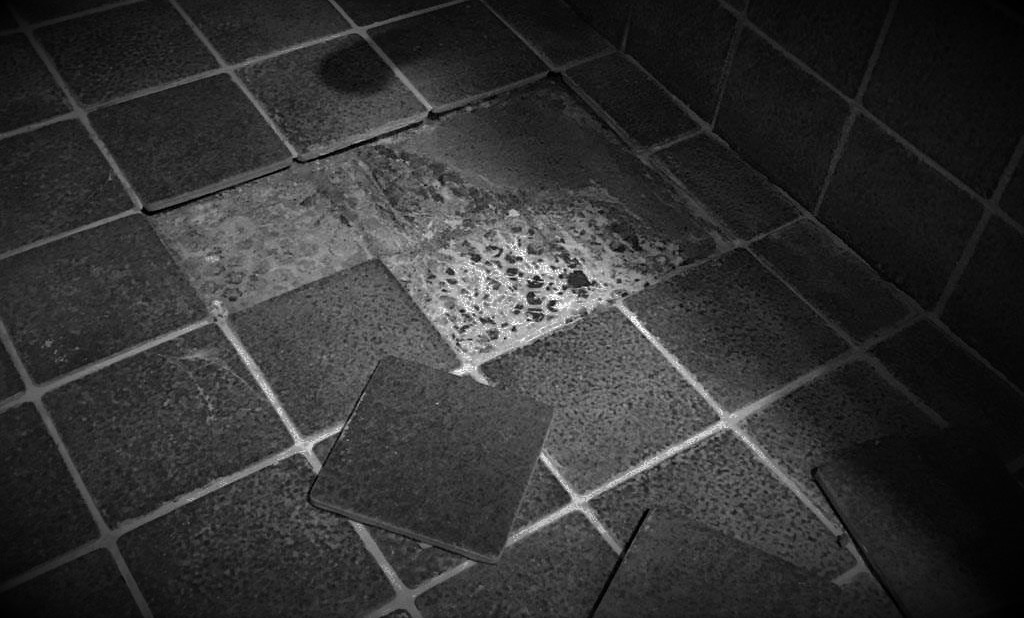
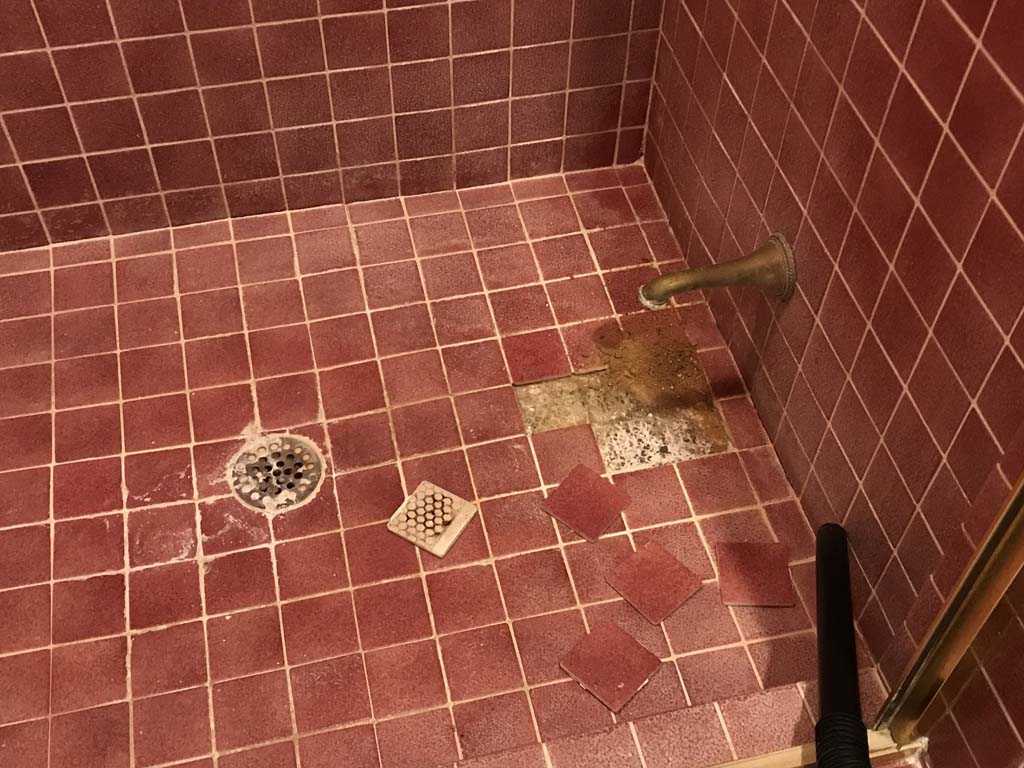
Our loose Shower tile
Our Shower and lower bathroom sits on a crawl space. It was over engineered due to the Sauna. It has a full steel beam structure with a concrete floor. So the floor of our shower is utilizing the concrete floor. When we bought the house, we saw the shower floor had a couple of loose tiles. What I did not know that I discovered during this repair, is that some of the concrete eroded away under the tile. Doing some online searches and talking to a friend who is a contractor I took up an unexpected suggestion on how to fix the problem.
Using Gorilla Glue to repair the loose tile
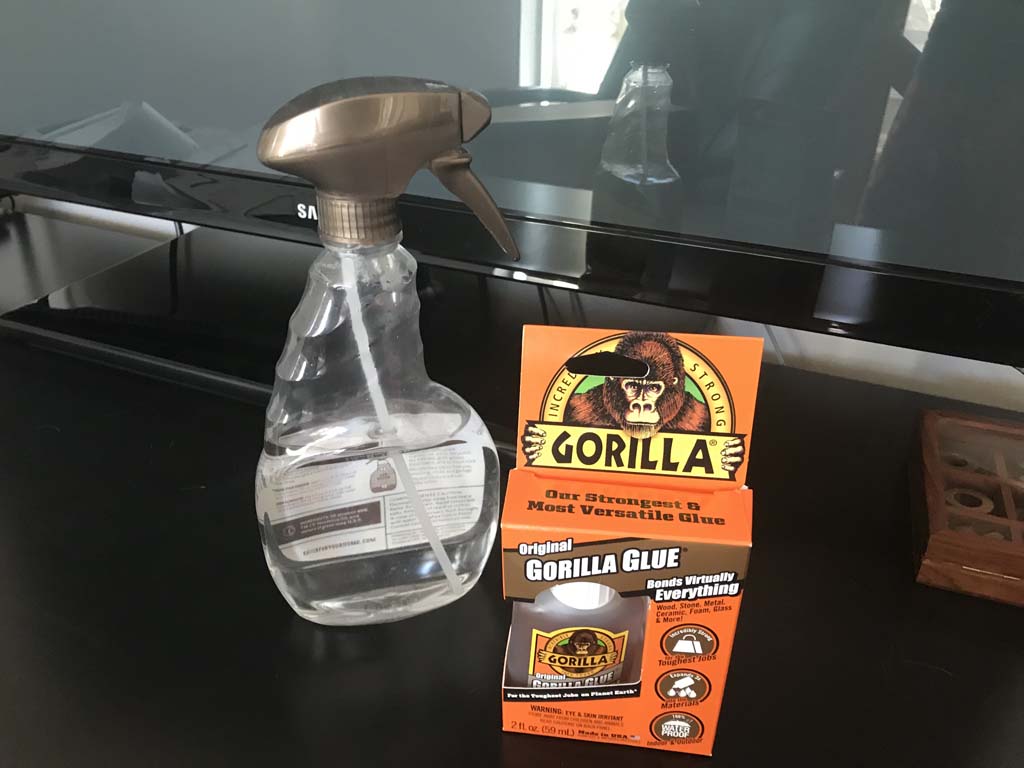
Gorilla Glue, that’s right using Gorilla Glue to fix loose shower tile. Apparently many people have been using this glue (which is really epoxy) for this type of repair.
Loose Shower Tile fix with Gorilla Glue Amazon Product List:
1. Gorilla Glue
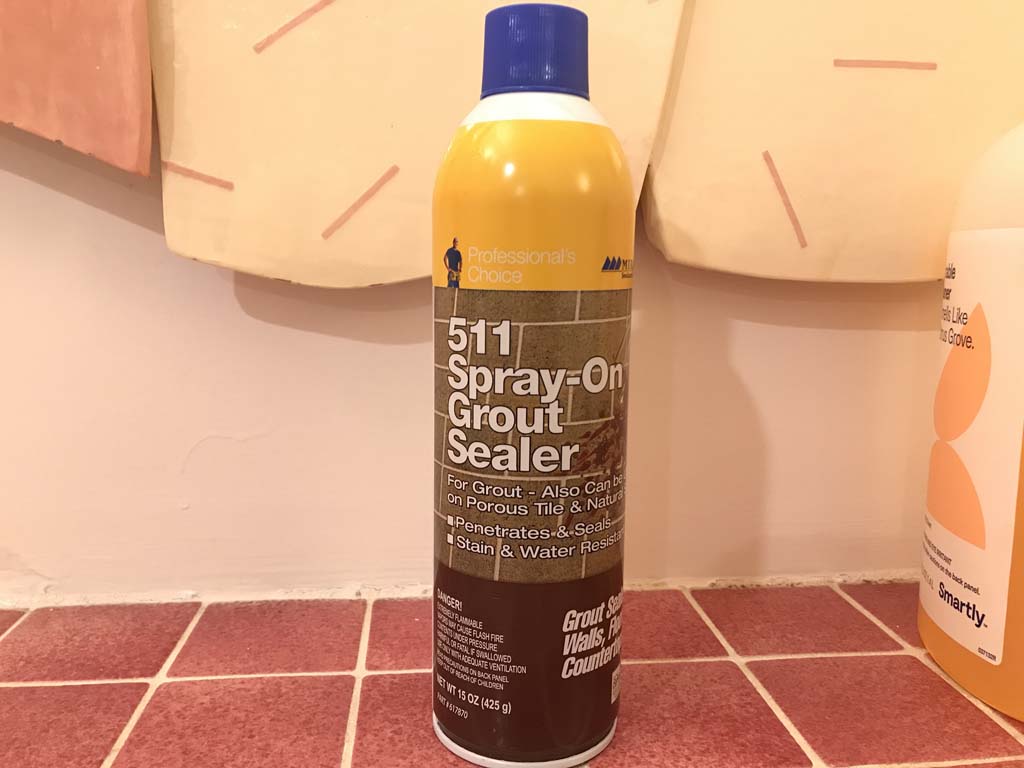
2. 511 Spray -on Grout Penetrating Sealer
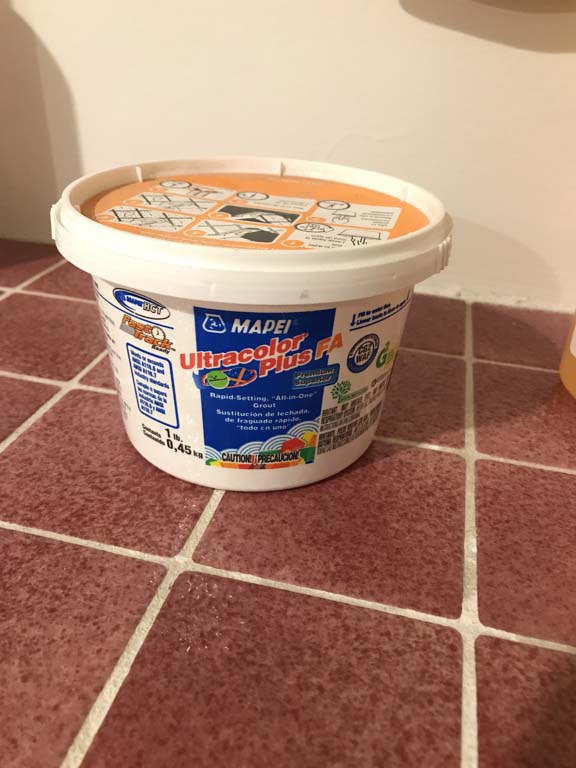
3. MAPEI Ultracolor Plus FA (There are multiple colors to meet your needs)
Other tools you might consider
- Grout Removal Tool – Dremel 569D 1/16-Inch Bit
- Grout Removal Tool – Dremel 570 1/8-Inch Carbide Bit
- Dremel Grout Removal Rotary Tool Attachment, 568-01
- Dremel 4V USB Rechargeable Home Tool Kit – Includes Handheld Flashlight, Electric Screwdriver and Electric Scissors
How to fix a loose tile in a bathroom shower
Once I went to Amazon and ordered the items I needed I was ready to get started. I grabbed my shop vac, and a chisel and headed to the bathroom. As I removed the tile and started to prep the area, I noticed some of the concrete had some soft places in it. The harder I scraped the more came loose. As you can see… there was a lot to dig out.
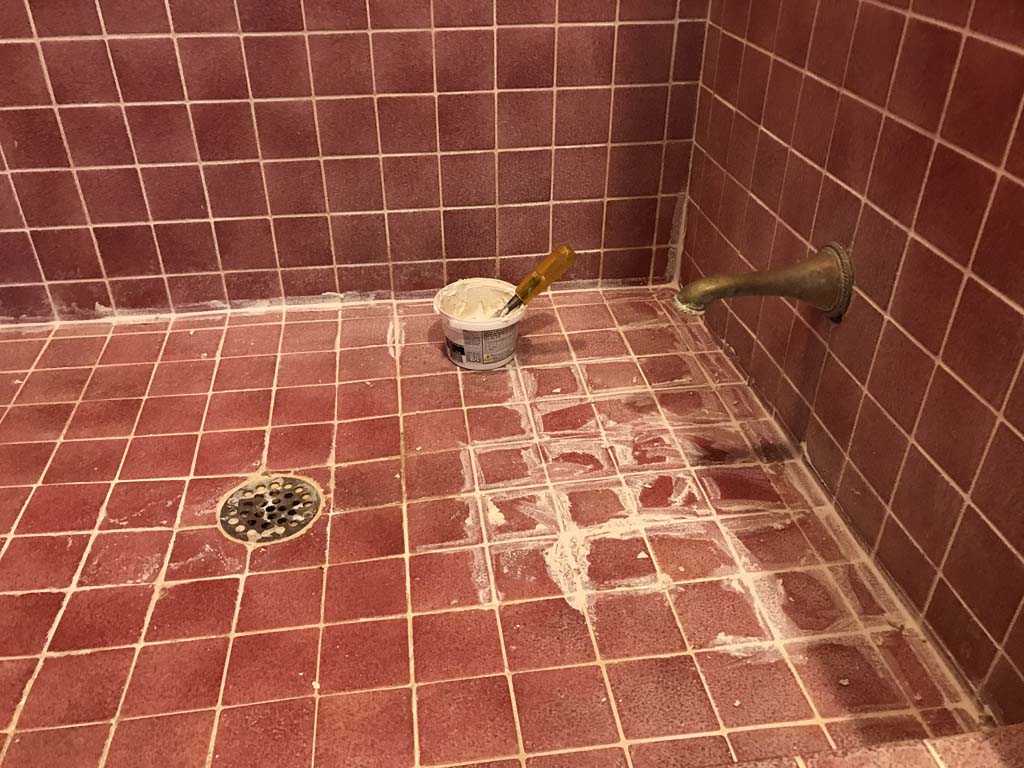
After spending about 10 minutes I was able to scrape and vacuum up all of the loose material and start adding the Gorilla Glue to set the tiles. This process took some time. One thing to know about Gorilla Glue is that it is activated by water. Once it starts the process, it will expand. In my particular case, it was important it did expand as I needed to fill a void.
Once the glue starts to activate, I let the glue expand prior to placing the tile on top. I slowly added the tile back in place. it took about 20 minutes for the glue to stop expanding and I needed to press down on the tile to compress the glue. This allowed me to set the tile at the appropriate height in relation to the other tile. I waited for 24 hours to whip up the grout and fill it in.
While waiting for the glue to set, I also cleaned out some of the other grout lines that were cracked and looked like they needed repair. Always take the extra 10 minutes to do the little extra things as you will thank yourself later.
After clean up and wiping down the rest of the shower floor, I applied the 511 Spray -on Grout Penetrating Sealer. I did a total of two coats and one can was more than enough for our semi-large shower.
*Pro Tip- If you have a Fireplace you can use the 511- Spray to also seal the exterior of your fireplace.
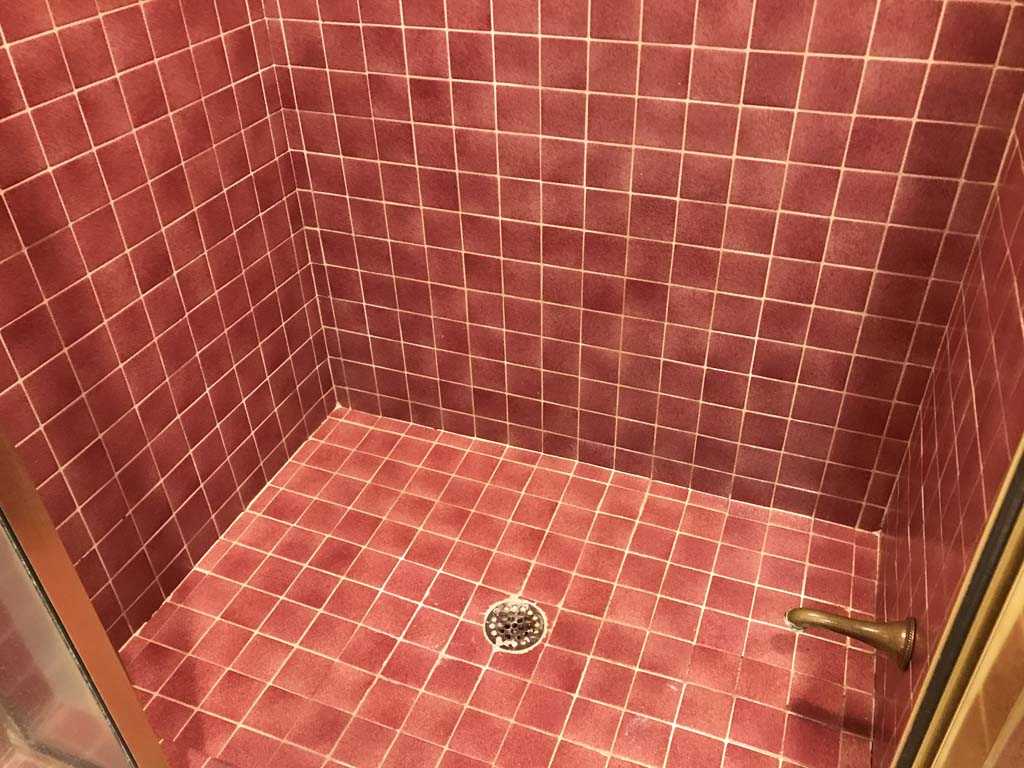
All in all we are really happy with how this turned out and so far has held up perfectly. I hope this little tip about Gorilla glue helps you fix your shower vs. having to pay to replace all of your shower tile.
How to Quick Steps
I am sure you are familiar with alternate ways to fix things, and sometimes the experts just want you to pay for their product. What I am going to show you is, a product for less than $10 could fix a loose shower tile, kitchen floor tile or backsplash tile.
Approximate Time 20 minutes
Remove and Clean Tile

Remove the Tile from the surface that is loose or broken. If it is a new replacement skip this step. Otherwise scrape and clean the glue and grout off the tile as much as possible.
Remove grout and glue

Remove any glue or grout from the surface you are going to re-attach the tile to. Use a brush and a vacuum to secure that all dust and derbies are removed.
Follow Gorilla Glue Instructions

Take a spray bottle with water and dampen the target location as well as the back of the tile. Then evenly cover the back of the tile with Gorilla Glue. Don’t over do it, just pass over the tile making several lines with spaces in between. Spray the back of the glue with water and set the tile in place. There should be enough stickiness for the tile to hold. IF NOT wait for the glue to start to setup and expand. (maybe 5 minutes) then proceed to attach to the surface.
Final Step

Watch the surface around the tile to see the glue to expand. As it does, you can press on the tile to put it back in place and keep the surface even. Do this over the next 10 minutes and you are good.
Clean up and Seal

Do general clean up, grab some grout and press the grout into place. Make sure to use a damp sponge to wipe over the tile to level out the grout. One simple tip is, don’t press down too hard. You want the sponge to take up the excess grout. Once dry seal up the area around the tile with a grout sealer (you really should treat tile and grout once a year on showers too, but hardly anyone does. Even me :).
Thanks for stopping by, and Read more about our projects on this home here!
Until Next Time!

